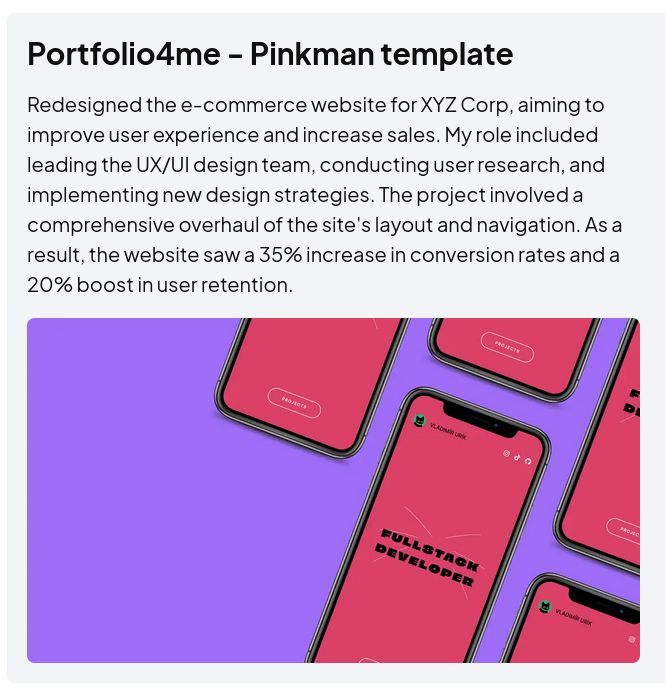
Projects Section
Writing an Effective "Projects" Section
The "Projects" section of your portfolio is essential for highlighting your work and demonstrating your skills in action. Here's how to make the most of it with the fields available: title, icon, miniature, date, and description.
1. Choose Compelling Titles
Select clear and engaging titles for your projects. The title should give a quick idea of the project's nature and attract the reader's attention. For example, "E-commerce Website Redesign" is more informative than just "Website Project."
2. Use Icons and Miniatures Wisely
Icons and miniatures are optional but highly recommended. Each template displays only one at a time, so choose the most impactful option for your project. If possible, upload both and decide which one looks best in your template.
Icons
Use icons to represent the type of project or key tools used.
Miniatures
Use miniatures (thumbnail images) to give a visual snapshot of the project.
3. Include Accurate Dates
Provide the date when the project was completed or the duration if it was an ongoing project. This helps viewers understand the timeline and context of your work.
4. Craft a Detailed Description
In the description field, offer a comprehensive overview of the project. Highlight key aspects such as objectives, your role, the process, and the outcomes. Use bullet points for clarity if needed. Here's what to include:
Project Objectives
Briefly describe the goals of the project. Explain the problem you aimed to solve or the opportunity you leveraged.
Your Role
Specify your role and contributions to the project. Mention any specific responsibilities or tasks you handled.
The Process
Outline the steps you took to complete the project. Highlight any methodologies or tools you used.
Outcomes and Results
Share the results or impact of the project. Mention any measurable successes, such as increased traffic, sales, or user engagement.
Example
